Showing posts with label snack. Show all posts

Tuesday, February 22, 2011

Mozzarella Sticks

My very first summer in the Midwest, before I started working, my then-boyfriend, now-husband decided it would be fun to go to the Wisconsin Dells for an extended weekend to get in our last summer kicks in before buckling down and joining the ‘real world.’


Before moving to Illinois, I had never heard of the Dells. The hubby would try to explain it to me, but nothing could prepare me for when we drove down the main street with water parks on either side, and having a military-grade Duck pull up beside us with its tour group in tow.


The trip itself was wonderful. We went on our very own Duck tour of the Dells, visited the water parks (including a ride on a water slide that was 10 stories tall), attended a magic show and went to the famous Tommy Bartlett Air and Water Show, they’re famous for the pyramid of water skiers.


We’ve been back to the area several times since then – but only once was it to visit the water parks. The other times we just happened to be passing though and had to make our obligatory stop at a famous local restaurant and micro-brewery called Moosejaw. According to the hubs, if you go to the dells, you go to this place to eat.


On my first visit, I knew that this place had to be good. There was a line out the door and around their porch. Thankfully we could camp out at the downstairs bar and had gotten there early enough that we were seated by the time we actually got hungry.


I have never had a better mozzarella stick than the ones they serve at Moosejaw. They’re prepared almost in an eggroll style, instead of the more traditional breading of other mozzarella sticks. And, maybe it’s because we were in Wisconsin, but the cheese was just worlds above any other stick I’ve ever had.


If we know we are passing through the dells on a trip, we will usually plan the timing so that we can stop at Moosejaw for a meal. I’m not a huge fan of mozzarella sticks, but these? These I can’t get enough of.


Since most days it just isn’t practical to drive 3 hours each way just for dinner, I’ve been experimenting with making my own mozzarella sticks to try and satisfy my craving. After a few batches, I have finally made something that works for us, even if it isn’t exactly like my beloved Moosejaw’s.


Mozzarella Sticks

Ingredients:
Package of Egg roll wrappers (20 in the package I used)
1 egg, slightly beaten with a tablespoon of water, until frothy
16 oz packaged Mozzarella (mine is shaped like a log, cut the log in half across the short width, and then each half cut into ten strips along the long direction.)

2 eggs
1.25 c Bread crumbs
1 Tbsp Dried oregano
1 Tbsp Dried basil
½ c grated parmesan

Directions:
To wrap the mozzarella:

Place an eggroll wrapper on the countertop with a point facing you. Place the mozzarella horizontally on the lower third of the wrapper.

Roll the corner closest to you over the filling. Moisten the top point with a little bit of the egg wash.

Fold the sides over the filling.

Roll the eggroll shut, and press to seal. Repeat with remaining wrapper and cheese.

I let these sit in my fridge for a little bit on a cooling rack in a sheet pan to let the egg really seal the seams well. Do not stack the mozzarella sticks – they will stick together!

For the breading:

Mix dry ingredients together in a medium bowl.

Pu the two eggs in a medium bowl and mix until mostly broken up and there are no clumps of egg white visible.

Using one hand. dip your wrapped mozzarella sticks in the egg wash, shake to remove the excess egg.

Drop into the breadcrumb mixture and, using your ‘non-eggy’ hand, coat the eggroll wrapper thoroughly with the breadcrumbs. Place back on the cooling rack until all the mozzarella sticks are breaded.

Meanwhile, I get my mini deep fryer heating to 375 degrees (you could also do this in a deep, wide pan with oil).

Once the oil gets up to temperature, fry the mozzarella sticks, 3-4 at a time, until golden brown. Remove to a paper towel to drain slightly.

Serve with marinara sauce, if desired.

Friday, February 4, 2011

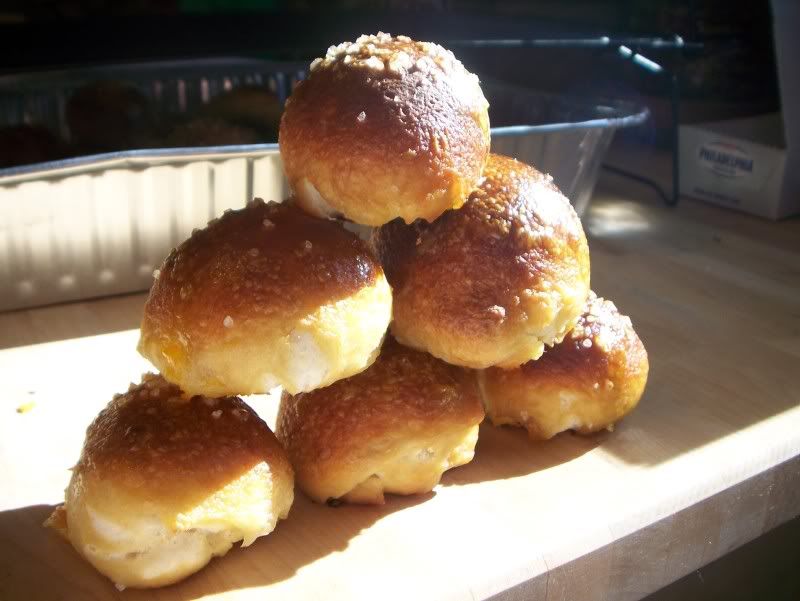
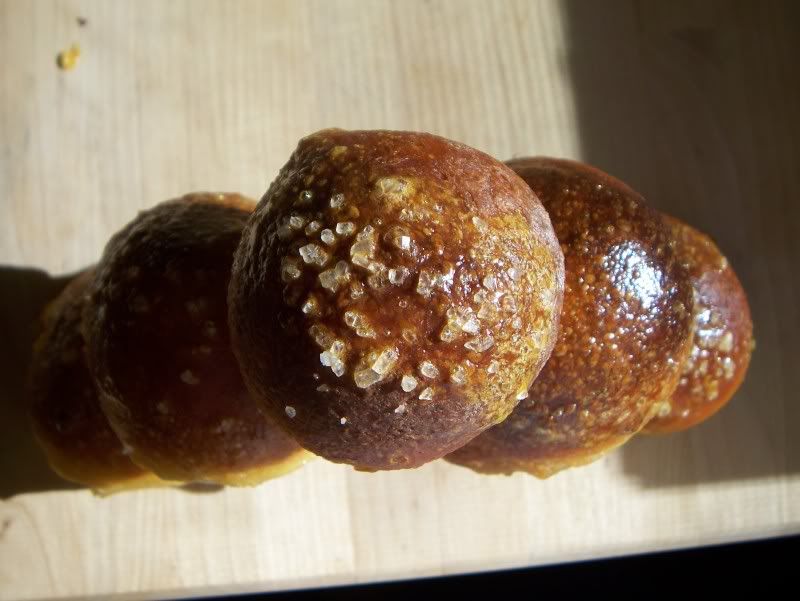
Ham and Cheddar Stuffed Pretzel Bites

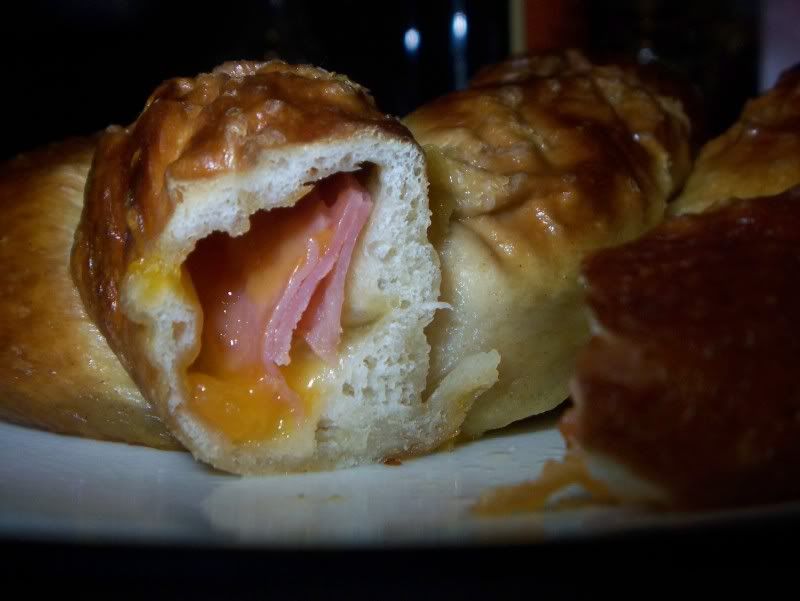
With a few days to go before the Super Bowl, I wanted to share a recipe that will please any guest at your Super Bowl party, football lover or not. Step aside, churros. Move out of the way, nachos. When it comes to foods fit for game day, the soft pretzel wins my heart over every single time. But stuffing the soft, bite-sized nuggets with ham and cheddar – that sends me over the moon.

I think a lot of my soft pretzel love is due to the fact that they are so versatile. They can be eaten plain, savory or sweet, or be dipped in pretty much anything your heart desires. And when you’re at the stadium, you just ring it around your finger and still carry two or three drinks back to your seat.

In Baltimore, a popular appetizer is a king-sized soft pretzel, smothered in crab dip, covered in cheese and then baked until hot and melty. I have gotten that as my dinner on more than one occasion. Even now, the pretzel world is expanding into stuffed pretzels, proving that there are even more options than ever. One of the more well-known brands I’ve seen are Kim and Scott’s http://www.kimandscotts.com/ stuffed pretzels. They have both sweet and savory varieties of stuffed pretzels, from chocolate pretzels stuffed with fudge, cinnamon-sugar topped pretzels stuffed with apple pie filling, and cheese-topped jalapeƱo-cheese stuffed pretzels.

Hands down, my favorite pretzel is traditional German Bavarian pretzels, which are difficult to find outside of Oktoberfest celebrations here in the US. The pretzels in German beer gardens are the best I’ve ever had. Instead of trying to replicate a perfect plain pretzel, I figured I would spice things up a bit. I decided to make my usual pretzel dough, stuff them with ham and cheese and make little nuggets out of them. They are a perfect, portable appetizer, suitable for hot or room-temperature consumption.


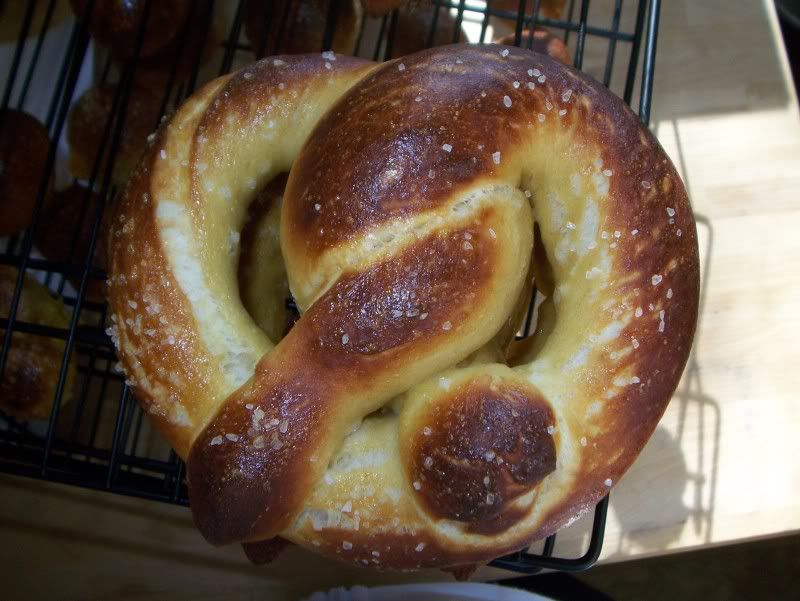
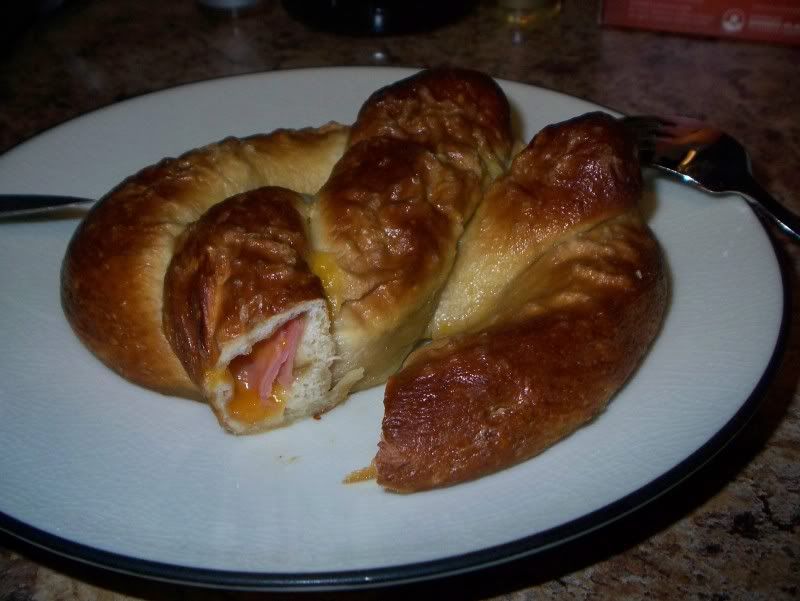
I also decided to have some fun and make an actual pretzel-shaped pretzel as well as one stuffed with ham and cheddar, in the style of those Kim and Scott's pretzels – just to see what would happen. The regular one was easy to roll into a tube and then create the pretzel knot. The stuffed one was a little more complicated, but was definitely worth the wow-factor.


These were fantastic. The outside could have had a little bit of a thicker crust, but it was not a fatal flaw. I did notice, though, that the longer pretzels sat at room temperature, the more of the salt seemed to dissolve into the outer skin. When eating the pretzel, it would have the correct level of saltiness, but it was missing the crunch that the pretzel salt brings. Which means I will either be investing in some pretzel salt, or eating the pretzels faster. Probably eating them faster, knowing me.


Ham and Cheddar Stuffed Pretzels

Pretzel Dough Recipe from Alton Brown via FoodNetwork.com
About 5 dozen pretzel bites or 8 regular pretzels (or be crazy and do a combination of both!)

My adaptations to this basic recipe are in italics.

Pretzel Dough
1 1/2 cups warm (110 to 115 degrees F) water
1 tablespoon sugar
2 teaspoons kosher salt
1 package active dry yeast
22 ounces all-purpose flour, approximately 4 1/2 cups
2 ounces unsalted butter, melted
Vegetable oil, for pan
10 cups water
2/3 cup baking soda
1 large egg yolk beaten with 1 tablespoon water
Pretzel salt

Filling
8 oz cheddar, shredded
8 oz deli ham, cut into small pieces or pulled apart


Combine the water, sugar and kosher salt in the bowl of a stand mixer and sprinkle the yeast on top. Allow to sit for 5 minutes or until the mixture begins to foam. Add the flour and butter and, using the dough hook attachment, mix on low speed until well combined. Change to medium speed and knead until the dough is smooth and pulls away from the side of the bowl, approximately 4 to 5 minutes. Remove the dough from the bowl, clean the bowl and then oil it well with vegetable oil. Return the dough to the bowl, cover with plastic wrap and sit in a warm place for approximately 50 to 55 minutes or until the dough has doubled in size.

Preheat the oven to 450 degrees F. Line 2 half-sheet pans with parchment paper and lightly brush with the vegetable oil. Set aside.

Bring the 10 cups of water and the baking soda to a rolling boil in an 8-quart saucepan or roasting pan.

In the meantime, turn the dough out onto a slightly oiled work surface and divide into 8 equal pieces.

For the individual pretzels, roll one of your eight pieces into a rope about 24 inches long. Twist into a pretzel shape, set aside. To stuff the pretzel, roll one of your eight pieces into a rope about 24 inches long, and then flattened out to about an inch wide. Run 1 oz of cheese and 1 oz of ham up the middle of the flattened dough, and then pinch the dough shut around the filling, trying to remove as much excess air as possible from the inside. Then the dough can be carefully knotted into the classic pretzel shape. Make a U-shape with the rope, holding the ends of the rope, cross them over each other and press onto the bottom of the U in order to form the shape of a pretzel. Place onto the parchment-lined half sheet pan.

For the nuggets, divide each of the eight pieces into another eight pieces. Make each piece into a small circle, about one to 1-1/4 inches in diameter. Also, try to make the outer edge of the nugget a little thinner than the center of the disk, since you’ll be gathering it. Put about 1-2 tsp of cheese and the same amount of ham in the center of the disk. A small pinch will do, be careful not to overfill the nugget or else it will be hard to pinch shut and will ooze cheese everywhere when it boils and then bakes. Gather the edges of the circle and pinch shut into a ball shape.


Place the pretzels into the boiling water, 1 by 1, for 30 seconds. This gets a little complicated with the nuggets, but do the best you can. I did batches of three to four nuggets at a time. Remove them from the water using a large flat spatula. Return to the half sheet pan, brush the top of each pretzel with the beaten egg yolk and water mixture and sprinkle with the pretzel salt. Bake until dark golden brown in color, approximately 12 to 14 minutes. Transfer to a cooling rack for at least 5 minutes before serving.

Friday, November 12, 2010

Toasted Butternut Squash Seeds

Halloween has come and gone, and November has rolled in with a cold punch in these parts. The high today is only supposed to be in the high 40's! What is up with that? Just a few weeks ago we had high 60's - and now we're barely hitting 50.

As much as I dread the impending cold weather (ahem, snow flurries are in our forecast this week, what?!) Fall and winter do have their charms. Falling leaves, snow, pot roast, pumpkin pie, apples, gingerbread and squash!

The colder weather also typically means I start preparing more stick-to-your rib types of meals. I love making foods on a cold day that warm you from the inside out. I've managed to make some of these recipes a little lighter so I can enjoy the food of the season without all the guilt, though my snacking choices leave a lot to be desired. Cookies, gingerbread, and a myriad of other sweets typically replace my more sensible choices.

After prepping butternut squash for a few recipes, I decided it might be fun to try roasting the seeds, since they looked essentially like mini pumpkin seeds. These were savory, crunchy, and a handful provided a satisfying snack without all the backlash from my bathroom scale.

Roasted Butternut Squash Seeds
(Though would work with pumpkin seeds too!)

Ingredients
Old Bay
Tbsp Olive Oil
(The amounts are highly dependent on how many seeds you have, so just make your best judgement)

Directions
Preheat oven to 325.

Throroughly clean and squash or pupmkin "goop" from your seeds and lay them out on paper towels or a kitchen towel to dry.

Put the seeds in a half sheet pan, drizzle with about olive oil until lightly coated, but not swimming in oil. Sprinkle old bay evenly to coat (use as much or as little as you like). Stir in pan, spread out again, and place pan in the oven.

Roast for 20-30 minutes, stirring often, until slightly browned.


Butternut Squash on Foodista

Friday, July 23, 2010

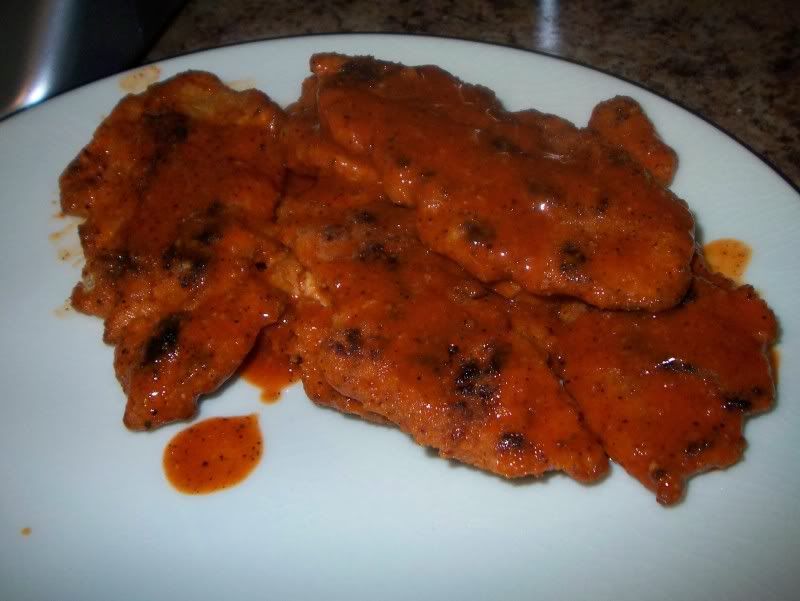
Buffalo Wings

My husband and I are pretty predictable on our date nights. A trip to Buffalo Wild Wings consisting of a boneless wing appetizer spun in mango habenero sauce, a couple of beers and dinner. Our meal is then followed by a trip next door to the movie theater. It’s the perfect night for us. We do enjoy fancy dinners on occasion, but when we want to relax and not worry about doing dishes, B-Dubs is the place for us.

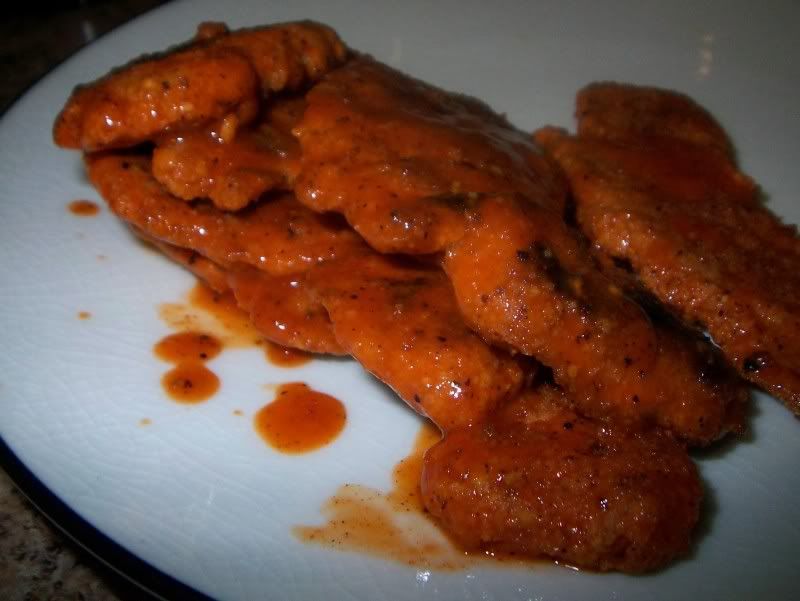
We haven’t been going out quite as much lately as we are saving for some pretty major home renovations, but that doesn’t mean we have to go without our wings. I must say, I enjoy the homemade version also because they are not deep-fried like their restaurant counterparts. If I wanted to get truly daring, I could evensplurge and purchase sauce from B-Dubs to get the real flavor, but the Frank’s Buffalo Hot Sauce fits the bill on a budget.

They do take a little time and prep-work to assemble, but I really enjoyed getting to have some hot wings at home. It’s classic bar food, but upgraded. I don’t feel quite as guilty after eating these, either.
I’ve tried double-breading the chicken tenders, but I think the extra step is completely superfluous. These wings are just as tasty with only one dredge through the bread crumbs, and you’ll get them on your table that much faster. If you want to double-coat, go ahead, but I’m sticking with a single layer from now on.

Buffalo Chicken Tenders

4 oz chicken tenderloins
1 c bread crumbs
3 eggs, lightly beaten
1/2 c flour
Cayenne Pepper
Salt
Pepper
1 c Franks Buffalo Hot Sauce
2-3 Tbsp Canola oil, for pan

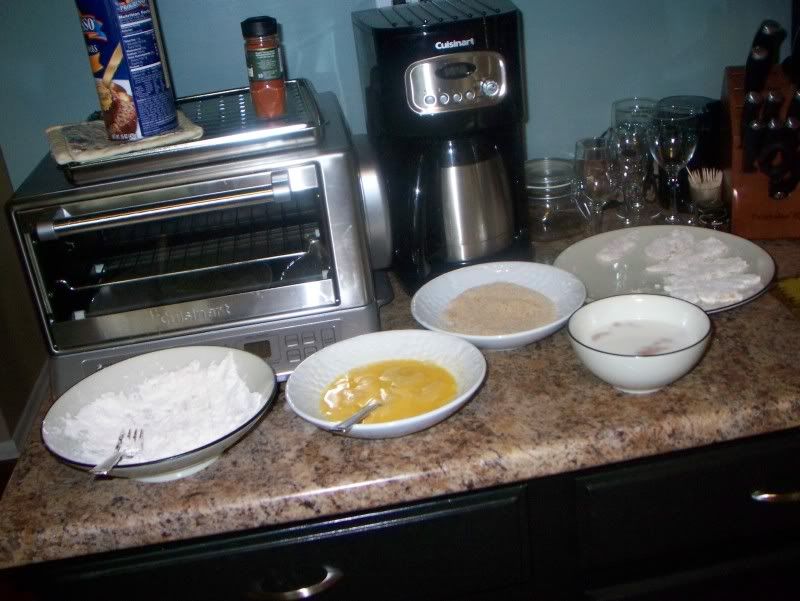
Get out three shallow serving bowls. Put flour in one. Mix in cayenne pepper, salt, pepper and paprika. In second shallow bowl, put your eggs. In last bowl, bread crumbs.

With a dry paper towel, pat your chicken dry. I like to cut my tenderloins into 2-3 pieces each, so each portion is a little more bite-sized. Lightly coat chicken with the flour, shake off excess and dip into eggs. Finally, coat your pieces with the breadcrumbs and set aside on a plate.

In a medium pan, heat up canola oil. Lightly pan fry the chicken pieces until golden brown and cooked all the way through. While waiting for the pieces to finish cooking, put about ¼ c of your hot sauce in the bottom of a bowl big enough to mix your chicken pieces. Add about half of your chicken, and layer on more hot sauce. Add the rest of your chicken, followed by the rest of the hot sauce. Shake, rattle, roll and stir your chicken until well coated.
Enjoy!

Related Posts Plugin for WordPress, Blogger...