Showing posts with label apple. Show all posts

Saturday, January 1, 2011

Feeding my “Swagoonchy” Craving (Recipe: Caramel Apple Crisp)

Happy New Year Everyone!!! I hope everyone had a wonderful time ringing in the new year!

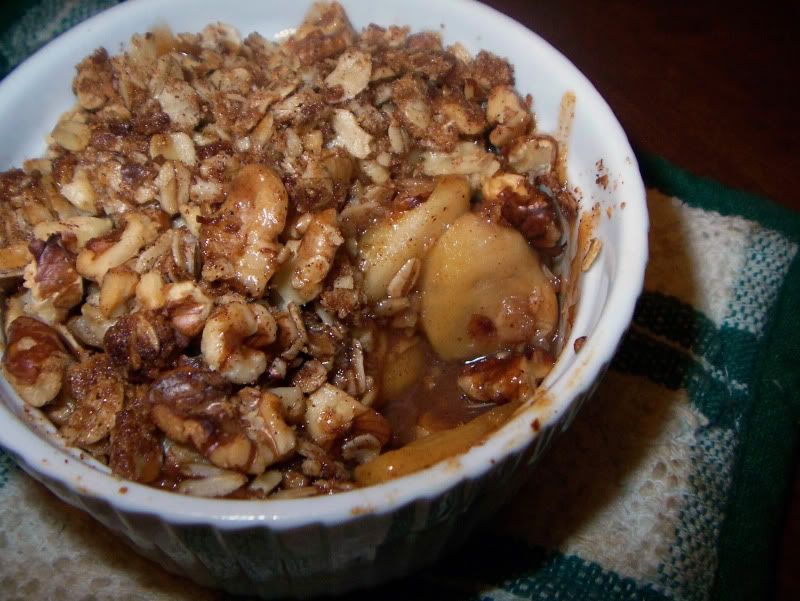
Even though the holidays are over, the cold is still hanging around, most likely will until April. This is when I start wishing for the warmer weather, and that someone would shovel our sidewalk and driveway for us. It's days like this where I just feel like I need something that is, for lack of a better word, “swagoonchy.” For everyone that’s not inside my head, that would be sweet, warm, gooey, and crunchy. This caramel apple crisp satisfied this craving, and I’m sure if you were just craving something simple and delicious for dessert, this would work as well.

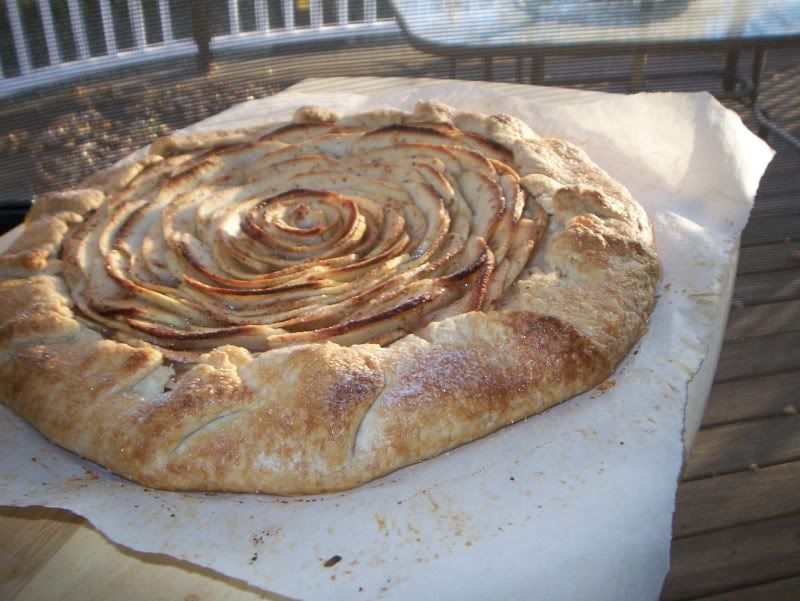
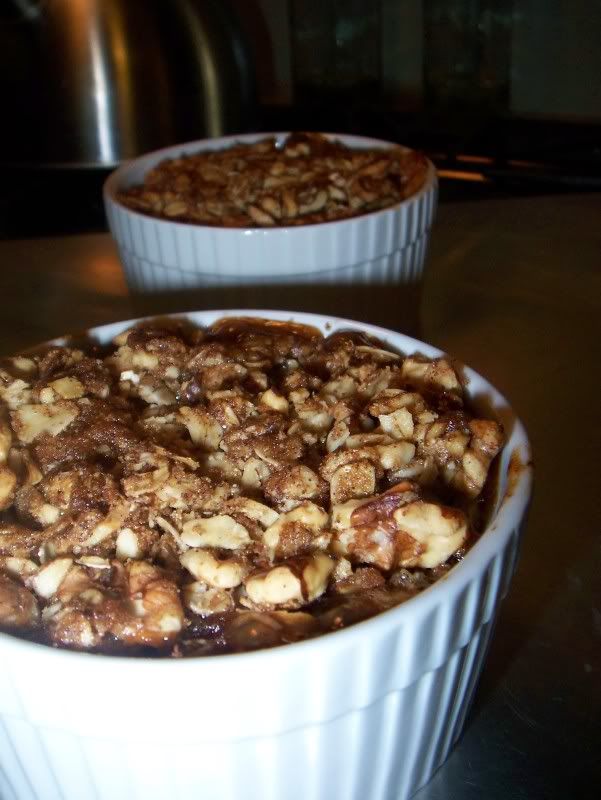
The combination of caramel, cinnamon, nutmeg and apples resembles an apple pie, but this is so much easier to make. And the ramekins help with portion control (because I’d be the one finishing an entire pan of this stuff). There is a little prep-work involved in the recipe, but I made this on a work night, so I know it can be done, even on a tight schedule.


Caramel Apple Crisp
2 Apples
8-10 caramel chews
2-3 Tbsp milk
1/4 tsp Nutmeg
1/2 tsp Cinnamon
3 Tbsp Oatmeal
1 Tbsp Butter
1 Tbsp Brown sugar

Preheat oven to 325.

In a small pot, combine milk and caramels over low heat until caramels have melted and mixed with the milk. (Alternatively, you could also do this in the microwave, at full power for 30 seconds, stir and repeat until combined.)

In another bowl, slice the apples, fairly thin. Pour in the caramel/milk mixture and stir to coat.

In a separate bowl, combine oats, brown sugar, cinnamon, nutmeg and butter. Mix until well combined.

Put apple mixture into ramekins, and top with the oatmeal/butter mixture.

Bake for 20-30 minutes, or until toasted on top and bubbly.

Tuesday, November 23, 2010

Apple Crostata

I find making pies a very relaxing process. It is very straightforward, few ingredients, and the result is warm and satisfying. I have been making pies since I was probably 12 years old or so. I started with the refrigerated pie crusts, but soon graduated to making scratch crusts. Making a crust requires minimal time and effort, and the taste is far superior to anything you can purchase in the stores. With a little preparation and a little practice, anyone can make a delicious, flaky pie dough.

Recently, I found myself with an excess of apples in our refrigerator, and with the family coming over for dinner, I really wanted to make something with apples for dessert. It has been a long time since I’ve made a pie, mainly because the commitment required for my husband and I to finish a pie ourselves is usually too much for us to handle. This was the perfect time to attempt my first crostata.

Martha’s pie dough was a snap to assemble, though I had to make it in two batches because I have a four-cup food processor and the entire recipe for a double crust wouldn’t fit. I’ve heard that when rolling out pie dough you should use parchment paper instead of dusting with flour, because the flour actually can cause the dough to get tough on you. After taking so much care not to overwork a dough in the process, it’d be a shame to toughen it up at the very end. So, I used the parchment paper, and it rolled out beautifully. It also makes the transfer from counter to sheet pan (or pie plate, if you desire) so much easier!

The filling only has a few ingredients and can be simply dumped into the crust or arranged a little more elegantly, depending on your mood. I really wanted to try to make a pretty dessert, but definitely kept the option open to just pile the apples in if my design idea failed. It must have been my lucky day, because the crostata turned our beautifully, and captured everything that is wonderful about an apple pie without requiring ten people to finish it.


Making pie dough from scratch can be intimidating. But, there are only a few simple things to keep in mind when making them, and you are well on your way to success:

Cold butter.
When you work butter into your crust, you want it to stay slightly chunky – about pea-sized. You do not want it to become a paste with the flour. The finished crust should have little pockets of butter visible in the dough. When the crust bakes, the butter releases steam in the crust, which is what creates the flakiness in the crust.

Do not overwork your dough.
When making pie crust (or biscuits or muffins) you want to develop as little of the gluten in the flour as possible. Gluten creates long strands of proteins within the dough when activated, like when working with bread dough. You knead the dough to created those long protein strands which results in a very elastic dough. For pies, though, you want tender and flaky, not tough and elastic. Work with the dough as little as possible just until everything is incorporated and you can press it together with your fingers. It may still look crumbly in your bowl, but if you pinch a little bit and it stays together, you’re done.

Chill your dough.
Just as cold butter is important in the beginning of the process, keeping the dough chilled during the process is key. Letting the dough sit after it comes together allows the water to really hydrate the flour in the dough, and you will have a better crust if you can refrigerate your dough for 30 minutes to an hour before rolling it out. Also, once you have your crust in your pie plate, it wouldn’t hurt to freeze it for 30 minutes before adding your fillings, just to make sure it’s super cold one last time. It will help keep your crust from getting soggy on the bottom.

Refrigerate or Freeze extra dough.
Don’t let the extra dough go to waste even if you can’t use it! My crostata only used half of this recipe, but I can save my crust to make a pie up to three later! Tightly wrap the dough with plastic wrap, and then put in a zip-top freezer-safe bag. Make sure to label it so you know how long it’s been sitting! I’ve seen recommendations of freezing for anywhere from one to three months, so if you want to be safe, use it sooner rather than later. Thaw your dough overnight in your refrigerator the prior to using it, and then continue making your pie as if you had a fresh dough.
Pies need to breathe, too! If making a double-crusted pie, cut vents in the top crust. If you don’t, steam may build up inside your crust and you might end up with a pie-blowout!

If making a double-crusted pie seems like too much, try this crostata. After rolling the dough flat, you dump in the filling and fold the edges over. Tears and breaks in your dough? No problem, that’s the beauty of a rustic dish – you can say it’s supposed to be like that! There isn’t even need for a pie dish, so you can see if you enjoy making the dough before going out and buying anything special!

This would be a wonderful addition to any Thanksgiving table. Give it a try, you might surprise yourself!
Apple Crostata

Ingredients
3 apples (I used 1 Braeburn and 2 granny smith)
1 tbsp lemon juice
1 tsp lemon zest
1/2 tsp cinnamon
1/4 tsp nutmeg
2 tbsp sugar
1/2 Recipe of Pie Crust (recipe follows)

Roll 1 disk of pie crust recipe to 1/8-inch thickness between two sheets of parchment paper. Remove top sheet of parchment paper and move dough to a rimmed baking sheet. Refrigerate while preparing the filling.

Preheat oven to 350 degrees.

Peel, core and slice apples into 1/8-inch thicknesses. Put into large bowl, drizzling lemon juice on apples as you go so they don’t oxidize and turn brown.

Mix flour, nutmeg, cinnamon, lemon zest and sugar in with the apples. Let sit for five to ten minutes.

Remove crust from oven and either spread your apple filling on the crust, or arrange on the crust, leaving a 1-1/2” border around the edge.

Fold edges over the filling (it’s supposed to look ‘rustic!’)

Brush cream on crust, and sprinkle with sugar.

Bake for 50-60 minutes until apples are cooked and crust is brown.

Pie Crust
From
Martha Stewart
Makes one 9-inch double crust
2 1/2 cups all-purpose flour, plus more for surface
1 teaspoon salt
1 teaspoon sugar
8 ounces (2 sticks) cold unsalted butter, cut into small pieces
1/4 to 1/2 cup ice water


Pulse flour, salt, and sugar in a food processor until combined. Add butter, and pulse until mixture resembles coarse crumbs with some larger pieces remaining, about 10 seconds.

Evenly drizzle 1/4 cup water over mixture (Alton brown actually suggests using a squirt bottle so that you more evenly distribute the water and don’t have ‘puddles’ in the flood processor). Pulse until mixture just begins to hold together (it should not be wet or sticky). If dough is too dry, add more water, 1 tablespoon at a time, and pulse. Divide dough in half. Place each half on a piece of plastic wrap, and wrap. Press dough into 2 disks using a rolling pin. Refrigerate until firm, about 1 hour or overnight.


Monday, November 22, 2010

Caramel Apple Spice

This post will be just like this recipe – short and sweet.

On the days that coffee, tea and hot chocolate just won’t do – I make my own version of Starbucks’ Caramel Apple Spice drink. It’s easy, and the only special ingredient is the Cinnamon Dolce Syrup. You can buy it online for 10.95 plus 2.99 shipping and whatever else in taxes, but here’s a helpful little tip – if you go into any Starbucks and ask for it, if they have it they’ll sell it to you for 7.99 plus tax. Granted, you won’t get the pump, but I have successfully lived without it.

Caramel Apple Spice


1 c apple juice (preferably not cider)
1-1.5 Tbsp Cinnamon Dolce Syrup (more or less depending on personal tastes)
Whipped cream
Caramel ice cream topping (not the stuff that hardens up)

Heat apple juice either in microwave or over low heat on your stovetop until steaming, but not boiling. Pour into mug, add cinnamon dolce syrup and stir.
Top with whipped cream and drizzle caramel ice cream topping on top.
Enjoy!


Apple Juice on Foodista
Related Posts Plugin for WordPress, Blogger...