Saturday, October 30, 2010

Hobgoblin Stew and Broomsticks


Every year around this time it is the same thing; the closer it gets to Halloween, the greater portion of my relatively healthy, balanced diet is replaced by Snickers, Milky Way, Reese Cups, Starburst, or any baked good containing cinnamon, nutmeg, allspice or pumpkin. And while I do make sure to get an apple a day, if I had my way, each one would be liberally coated with caramel and nuts.

Most of this change is simply due to the fact that the get togethers, parties and potlucks around this time are Halloween or autumn themed, and aside from Thanksgiving Dinner, most people relate autumn and Halloween to spice cakes, apple or pumpkin pies or candy out of the bag. I must say that I fall into this category as well, save for one thing – squash. It is one of the few healthy autumn indulgences that I have, so I get really excited when I see it go on sale.

After making butternut squash and shrimp risotto, butternut squash soup and just eating it plain, I wanted to try something different for an office potluck. Chili is always a great chilly-weather comfort food, and this recipe allowed me to incorporate leftover butternut squash. Because it uses ground turkey and has tomatoes, hominy, kidney beans and the squash, this is a comfort food that you can feel good about eating.

As the chili cooks, it smells a little like tacos because of the cumin. It has been a long time since I’ve had hominy, and never in chili, but this seemed like the perfect chance to use it, and I didn’t regret it. If you can’t find it, you can always substitute corn, but I love how the soft, almost al-dente texture of the hominy mirrors that of the roasted squash, and that won’t be exactly the same if you substitute corn kernels for it. The squash lends a delicate sweetness to the chili, which also has quite the kick, thanks to the jalapenos, cayenne and chili powder.
As an added ‘cute’ factor, I made broomsticks out of breadsticks. I thought it would be fitting for the occasion. These were made simply by purchasing the pre-packaged breadstick dough in the refrigerated section. I cut a small section off of the end for the band around the broom, and then I cut 4 inch-long slits in the bottom of each breadstick. After cutting the bristles, I pinched right above there and wrapped it with the small piece I cut off earlier for the band. Move them onto your baking sheet, then twist the handles like you would normal breadsticks. Bake them as directed on the packaging.

Hobgoblin Stew and Broomsticks
Adapted From AllRecipes.com

Ingredients

2 tablespoons olive oil
1 onion, chopped
2 cloves garlic, minced
1 pound ground turkey breast
1 pound roasted butternut squash
1 cup chicken broth
1 (4.5 ounce) can chopped jalapenos
2 (14.5 ounce) cans petite diced tomatoes (you can use plain, but I used the ones with celery and onion)
1 (15 ounce) can kidney beans with liquid (I used dark red, but you can use light red or even just black beans)
1 (15.5 ounce) can white hominy, drained
1 (8 ounce) can tomato sauce
1 tablespoon chili powder
1 tablespoon ground cumin
2 tsp Cayenne Pepper
3 Tbsp Brown Sugar
2 tsp Allspice
Salt
Pepper

Directions

1.To roast the butternut squash: heat the oven to 425 degrees. Peel the squash, remove the seeds and cut into 3/4-inch to 1-inch dice. Season with a little olive oil, salt and pepper, and roast in a baking pan for 25-35 minutes, or until soft. Set aside.
2. Heat the olive oil in a large pot over medium heat. Stir in the onion and garlic; cook and stir for 3 minutes, then add the turkey, and stir until crumbly and no longer pink.
2.Add the butternut squash, chicken broth, green chilies, tomatoes, kidney beans, hominy, and tomato sauce; season with chili powder, cumin, and garlic salt. Bring to a simmer, then reduce heat to medium-low, cover, and simmer until the squash is tender, about 20 minutes.

Come join Soup-a-Palooza at TidyMom and Dine and Dish sponsored by Bush’s Beans, Hip Hostess, Pillsbury and Westminster Crackers

Wednesday, October 27, 2010

S'mores Tarts

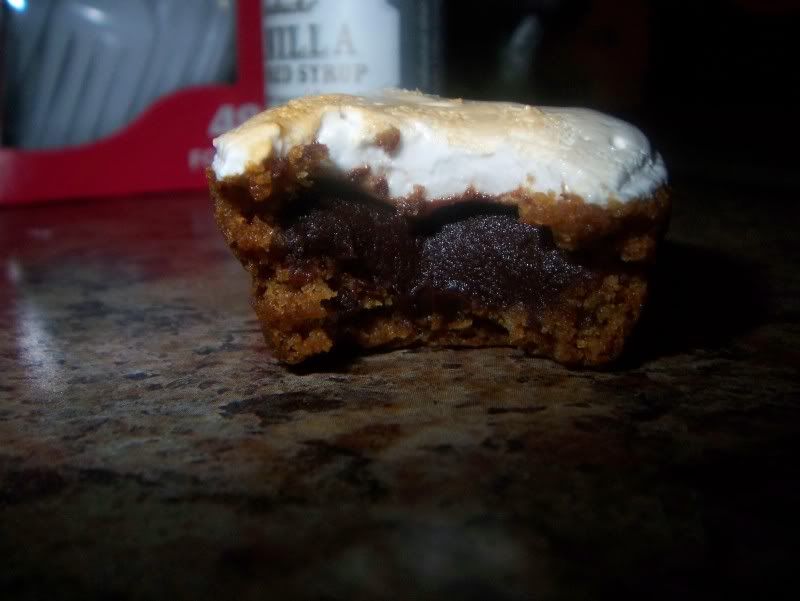
Few things remind me of summer more than s’mores and I thought it might be fun to create a miniature s’mores tart for a get-together we were having at our house. I’ve seen many versions of s’mores tarts, but since I don’t own mini tart pans (or any tart pans for that matter) and knew I wasn’t about to go out and buy them, I had to improvise a bit. I knew that my vision included little graham cracker cups (versus a more traditional graham cracker crumb crust like on my key lime pie), filled with ganache and topped with marshmallow, so I enlisted the help of my mini-muffin pan. Docking these crusts was extremely important to getting a shell, versus a muffin-shaped graham puff, but the end result was a perfectly bite-sized graham cracker tart shell perfect for filling with ganache and topping with homemade vanilla marshmallow.

My first batch of graham crackers cooked too long, and while they were nice and crisp like graham crackers, they were also a little too brown and crunchy – and tasted right on the verge of burnt. I cooked the next batch about 5 minutes less, and when they came out they were golden brown and still a little soft. Perfect. I know that graham crackers are typically drier and more crumbly, but I wanted a little softer graham to go with the marshmallow and ganache.I also think that next time around I will use a little more honey and a little less molasses, because I think the molasses was a little more pronounced than I would have liked in the plain cracker (though it was certainly more muted when the other components were added).

I tried a new marshmallow recipe this time around and noticed that it was much denser than the light, airy marshmallows I made previously. But these were delicious. They tasted like a sturdier version of marshmallow fluff, without all the preservatives. But boy, oh boy, was this stuff sticky. My other batch of marshmallows was sticky, but I was able to get it all into a pan, and most likely could have piped it without incident. This batch was much denser, and after two failed attempts at piping it delicately and artfully onto the tarts, I had to resort to slapping it on with a spoon before it totally set up. Anything the marshmallow touched was covered, including my hands and face – the telltale sign of sneaking a ‘taster’ bite. Oops.

I was worried that the chewier marshmallow was a bad choice, because in my impatience to try them while still warm, the ganache oozed out from the back of the tarts and marshmallow stuck to my lips, hands and face. The marshmallow also was stringy, so I could pull the tart back and arm’s length from my face and still have a string connecting my face to the tart. I was a little worried that all this effort to make these from scratch was going to become one big disappointment.

But after getting the chance to set overnight, the combination of textures was perfect between the graham cracker shell, ganache filling and marshmallow topping. You could bite through the marshmallow easily, and it was more velvety, silky smooth than dry and airy like those Jet-Puffed store marshmallows. The ganache had also set up just enough that it wasn’t totally solid, but also didn’t ooze out of the tart anymore.

These were a lot of effort to get together, but I would definitely call them a success, and totally worth it. While I’m sad they’re all gone now, I’m also happy because I think I might be addicted to them and the only way I would stop eating them is if they were not in front of my face.


Homemade S’mores Tarts
Homemade graham cracker, dark chocolate ganache, toasted homemade marshmallow

For the graham crackers
Hands On Gourmet
2 ¼ cups all purpose flour
1 tablespoon whole wheat flour
1 cup brown sugar
1 teaspoon baking soda
1 teaspoon salt
¼ pound butter, chilled and cut into small cubes
2 tablespoons molasses
3 tablespoons honey
¼ cup milk
1 tablespoon vanilla extract
cinnamon sugar (1/2 cup sugar + 1 tablespoon cinnamon)

Combine all the dry ingredients except the cinnamon sugar. Work the butter into the dry ingredients to form a coarse meal. Combine the wet ingredients and add to the dough. Mix to combine. Flatten out the dough, wrap in plastic and chill until the dough firms up. Dust a work surface with flour and roll the dough out to 1/8” thick sheet, dusting with extra flour as needed. Chill the sheet of dough. Cut into squares and dock the dough with a fork. Sprinkle with cinnamon sugar.
Oil tartlet molds and form the graham cracker dough into them. Bake at 325 for 20 minutes. When cool, remove the shells from the molds.

Vanilla Marshmallow Layer
Couldn't be Parve

1/4 cup + 1 tablespoons (2.5 oz) cold water
2 teaspoons pure vanilla extract
1 1/2 tablespoons powdered gelatin
6 tablespoons (3 oz) cold water
10 tablespoons corn syrup
pinch of salt
3/4 cups granulated sugar
Combine the first three ingredients in a medium bowl and whisk until well blended and smooth. Set aside.
Combine second quantity of water, corn syrup, salt and sugar in a 4-quart saucepan and place over medium heat. When the mixture comes to a boil brush down the sides of the pan above the upper surface of the syrup with a clean, moistened pastry brush or paper towel to dissolve any remaining sugar crystals. Do not stir the syrup once it comes to a boil.
Place a candy or instant read thermometer into the syrup and continue to cook, without stirring, until syrup reaches 248F. Remove pan from heat and carefully stir in gelatin mixture.
Pour the mixture into the bowl of an electric stand mixer fitted with the whisk attachment. Starting at medium speed gradually increase the mixer speed to high. While the mixture is beating remove the tart with the ganache from the refrigerator. Beat the mixture for 10-12 minutes. When done it should look white and fluffy and the bowl will no longer be hot to the touch.
Using a wet spatula scrape mixture into prepared pan on top of ganache. Spread into a smooth even layer using a wet spatula (or well moistened hands). Set tart aside, uncovered, at room temperature for at least 4 hours or over night. (As a warning, this marshmallow is SUPER sticky. I couldn’t pipe it at all. I ended up using a spoon to individually portion out the marshmallow.)
If desired, toast top of the tart with a kitchen torch or broiler. Press up on bottom of pan to release tart from the pan. If using the broiler let the tart sit for a little while before removing from the pan and cutting to allow time for the ganache to re-harden.

Chocolate Ganache Layer
8 oz heavy cream
8 of baking chocolate (Ghiradelli dark chips or Hersheys Semi-Sweet Morsels)

Place chocolate in bowl. Heat cream butter and sugar in small pan. Once cream is barely simmering, pour over chocolate and allow it to sit for 5 minutes. Wisk until smooth.

To Finish
Fill the shells with ganache, top with marshmallow and let sit overnight to set. If you're like me and don't have a kitchen torch, put them under the broiler for 30-45 seconds until slightly toasted. Make sure they get a chance to cool to room temperature before serving or else you'll get a melty, sticky mess.

Saturday, October 23, 2010

Snickerdoodle Blondies

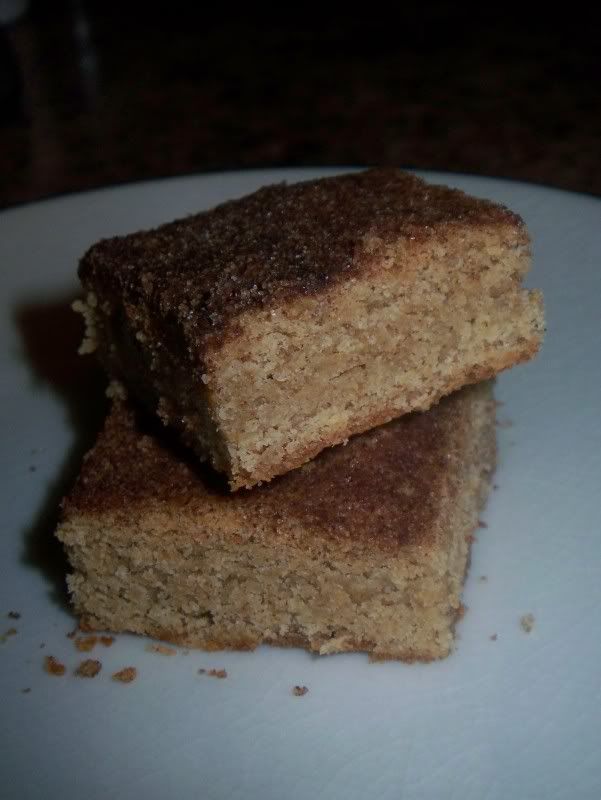
Snickerdoodles to me are classic cookies, right up there with chocolate chip. These chewy, sugary cookies have a delicate crunch attributed to the cinnamon sugar they are rolled into prior to baking. When I bake for a group, especially when what I make has to commute to work with me, I try to avoid making individual cookies unless they are sturdy. That leaves me typically with chocolate chip and sugar cookies, and even then there is a sacrificial cookie crumbled up in the bottom of the bag. So recently, I’ve been on a bar cookie/brownie kick. Not only do they bake and transport in the same pan, the pan has a lid and handle, perfect for protecting it on the go. Because of this, I thought I’d try out a snickerdoodle blondie recipe I’ve had bookmarked for a while.

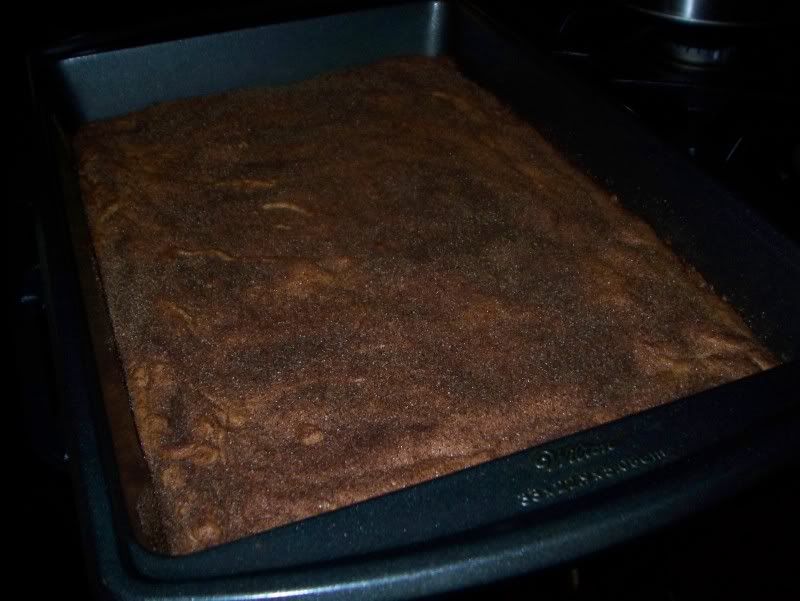
The end result was a dense, chewy, cakey blondie that had a nice cinnamon sugar crust on the top. And while a lot of people who tried them had never had a snickerdoodle before (much less heard of one), they all enjoyed these bars immensely.

Snickerdoodle Blondies
Adapted From Brown Eyed Baker

Yield: 24 blondies

Ingredients:
2-2/3 cups all-purpose flour
2 teaspoons baking powder
1 teaspoon salt
1 teaspoon cinnamon
¼ teaspoon ground nutmeg
2 cups packed brown sugar
1 cup (8 ounces) unsalted butter, at room temperature
2 eggs
1 tablespoon vanilla extract
2 tablespoons granulated sugar
2 teaspoons cinnamon

1. Preheat the oven to 350 degrees F. Lightly grease a 9×13-inch baking pan; set aside.
2. Whisk together the flour, baking powder, salt, cinnamon and nutmeg in a medium bowl; set aside.
3. Beat together the butter and brown sugar on medium speed until light and fluffy, about 5 minutes. Add the eggs one at a time, and then the vanilla. Beat, scraping the bowl, until thoroughly combined. On low speed, gradually add the flour mixture until just combined. Give the dough a final stir with a spatula or wooden spoon to make sure the flour is incorporated.
4. Spread the dough evenly into the pan (I found an offset spatula was the best tool for the job, as it’s a thick batter). Combine the granulated sugar and cinnamon in a small bowl and sprinkle evenly over the top of the batter.
5. Bake for 25-30 minutes or until the surface springs back when gently pressed. Cool completely before cutting. Store in an airtight container at room temperature.

Monday, October 18, 2010

French Toast

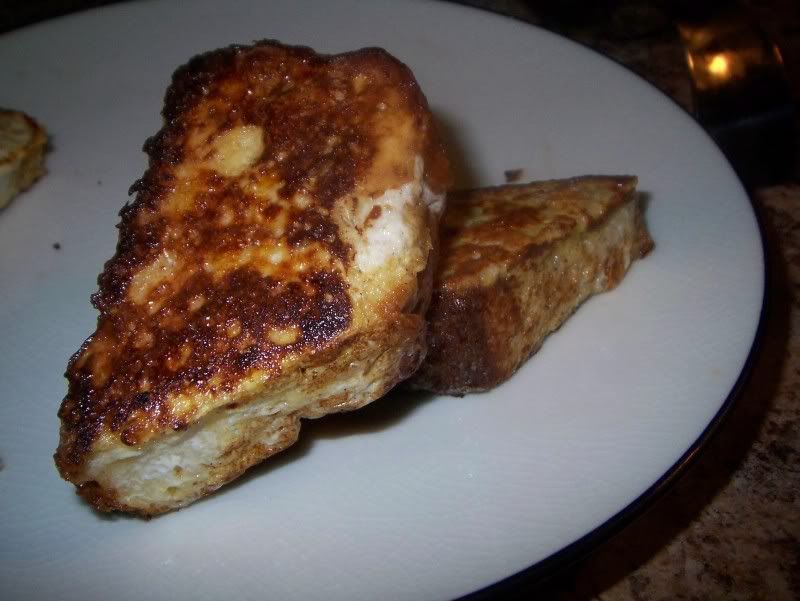
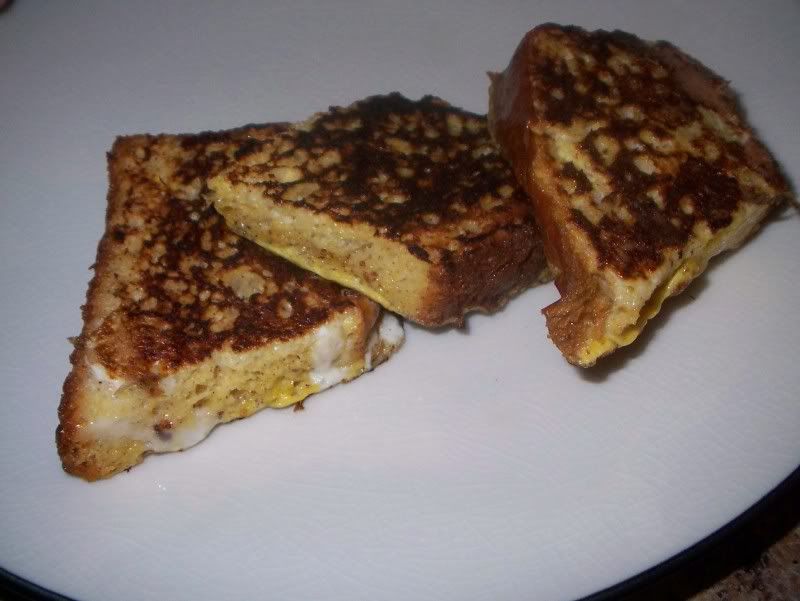
Nothing starts the day off right like a good breakfast. Some days I like the savory breakfasts – cream chipped beef, corned beef hash, home fries, eggs, sausage, bacon, etc. Most days, however, I love that you can eat something sweet and slathered in maple syrup and call it a meal, instead of just dessert! French toast is easy, but there is a technique to it. You do need stale, dried out bread, it soaks up more of the egg mixture and, more importantly, it holds up better. Fresh bread tends to get mushy and almost slimy to the point it’s impossible to work with.

I made this French toast using my Pao Doce from a while ago. It freezes well, so I pulled some I had been saving in our freezer and sliced off a couple chunks for breakfast. The real trick is to cook it pretty low and slow. You want the inside to ‘set up’ similar to a custard without burning the outside.

My husband and I both love French toast, but we differ greatly on how we dress it up once it comes out of the skillet. He loves to drench his in maple syrup, whereas I swear by my cinnamon sugar – no syrup. Or, if you can get your hands on some of Watkins Cinna-Cream sprinkles, buy them. It’s cinnamon sugar but with a vanilla twist. Amazing. Seriously, go get some.


My bread was cooked in a 9” cake pan, and I cut off two 3/4-1” slices near the center of the loaf to make four pretty large pieces of French toast. And that’s more than enough for the two of us.
French Toast

Generously Serves 2

4 thick slices of stale bread
2 eggs
1/4 cup milk
1/2 teaspoon ground cinnamon
3/4 teaspoon vanilla extract (I use Watkins Brand)
Pinch ground nutmeg (optional)
salt to taste

Beat together egg, milk, salt, spices and vanilla.
Heat a lightly oiled or buttered griddle of skillet over medium/medium-high flame.
Dunk each slice of bread in egg mixture, soaking both sides.
Place in pan, and cook on both sides until golden.
Serve hot.

Tuesday, October 12, 2010

Coconut Rice Pudding

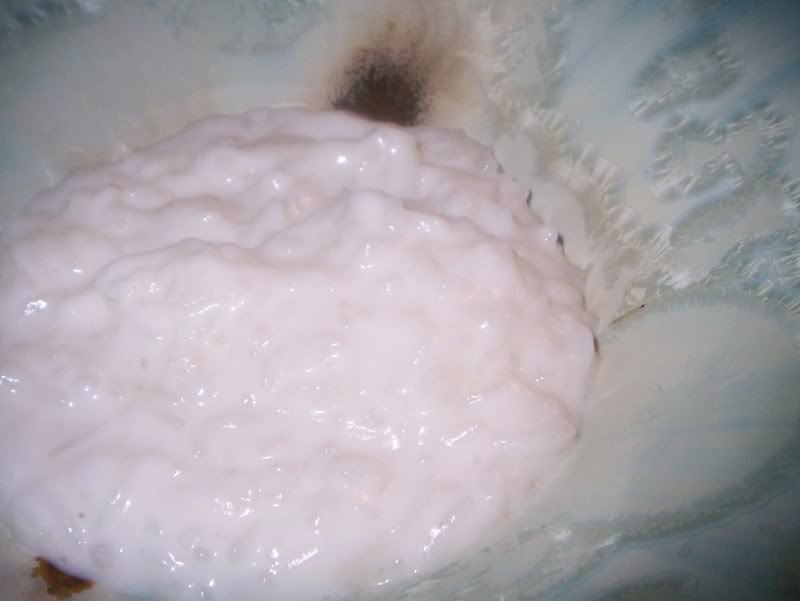
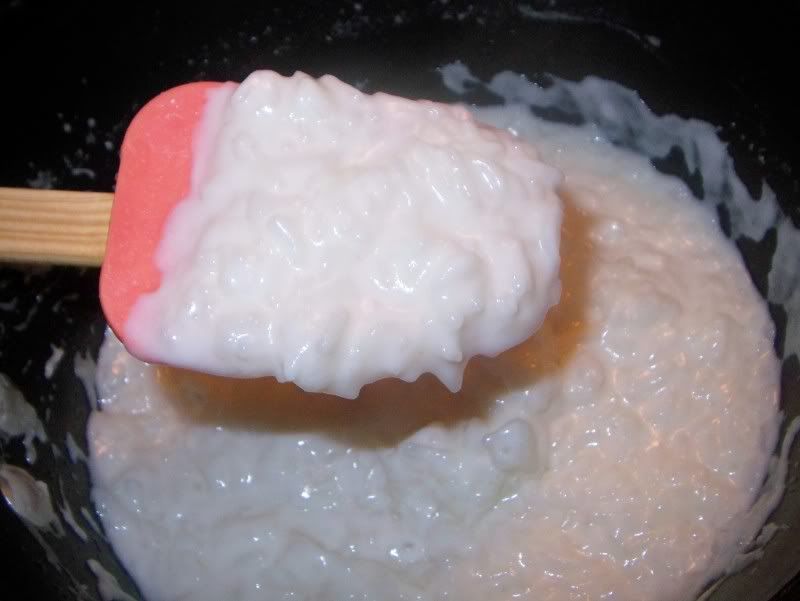
My mom loves rice pudding. I used to hate it. It always reminded me of what would be, I’d imagine, the texture of baby food. Creamy and smooth like a pudding, yet slightly chunky. I think it was the ‘chunks’ that threw me. Regular pudding, bread pudding, Yorkshire pudding – you name any other type of pudding, and I love it. It was just something about the texture of rice pudding that I couldn’t get past. I especially did not like the pre-packaged rice puddings, there always seemed to be an artificial aftertaste. While I still don’t love the pre-packaged containers of rice pudding, I must admit that I am now an avid lover of the homemade version. I prefer to eat mine warm, as it reminds me a little bit of kao thom or congee that we had in Thailand. Both are types of rice porridges but, more often than not, are savory instead of sweet.

I love the plain vanilla rice pudding, with a little bit of cinnamon and nutmeg on top. This one spices up the classic by adding coconut milk to the mixture, making it super creamy and coconutty. It was pure bliss. Not exactly light on the waistline, though – which was a problem because the hubby does not eat coconut, meaning I had free reign over the rice pudding. A spoonful here, a spoonful there, and within a day, half of the bowl was gone.

Oops. I know why we have a treadmill now.

I enjoyed this a lot and will definitely make it again once it gets colder out. I can picture snuggling up in a blanket with a warm bowl of coconut rice pudding and just reminiscing about warmer times.


Coconut Rice Pudding
Adapted From Coconut and Lime

Ingredients:
1/3 cup white basmati rice
14 oz can coconut milk (not cream of coconut)
1 1/2 cups milk
1/3 cup sugar
1/8 teaspoon salt

Directions:
In a small bowl soak rice in about 2/3 cup of cold water for 30 minutes. Drain rice. In a medium sized saucepan bring coconut milk, milk, rice, sugar, and salt to a boil, Reduce heat to low and simmer, for about 40-45 minutes, stirring occasionally. It should have cooked down to a thick, creamy texture. Delicious warm or chilled

Thursday, October 7, 2010

Indecisive Brownies

I am still very tentative when I try new recipes. As much as I love trying new things and experimenting with food, I also understand that there are people who know what they like, and what they don’t, and are very content being set in their ways. This makes me overthink things... a lot. I always want to make sure everyone has something they can enjoy.

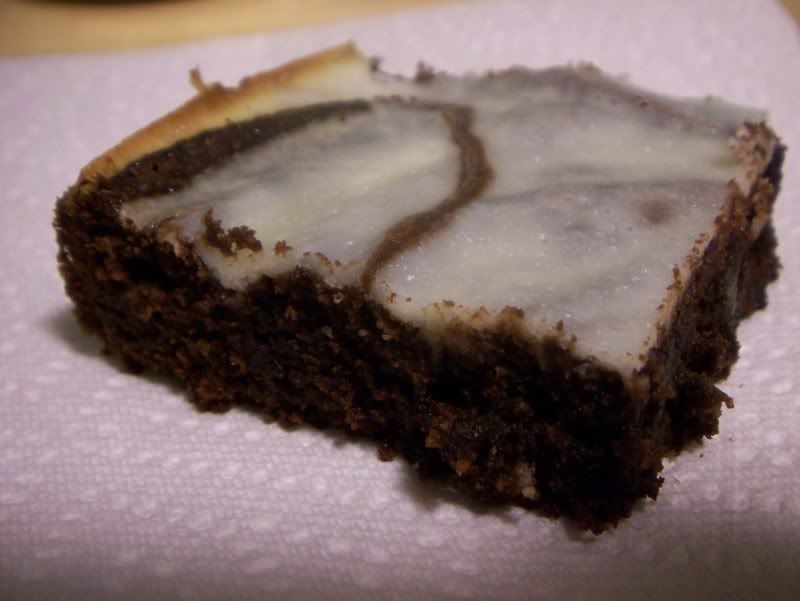
Take brownies. Most people will say they enjoy brownies, unless they don’t like chocolate. They have their blondies, at least. But then of those who like brownies, there are those who like the fudgy ones, and those who like the cakey ones. Do you add chocolate chips, nuts or peanut butter cups, or leave them plain? What about cheesecake-topped brownies? Do they stray too far from a ‘normal brownie?’

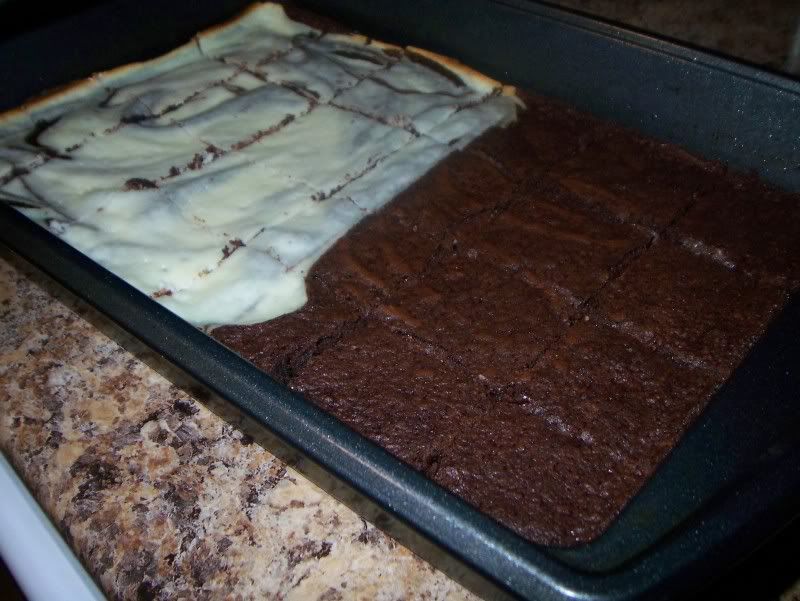
Yes, I think like that. That is why, the last time I made brownies for a group of people, I made half regular brownies and half cheesecake-topped. What I was not expecting, though, was that the cheesecake-topped brownies would fly out of the pan as quickly as they did. The regular brownies disappeared as well, but darn if the jazzed-up brownies went first.

There are so many things I want to try, and this might be the push to just go for it. While I will still always be sensitive to those with food allergies or if I am making something for someone who I know absolutely loathes a particular ingredient, I will be attempt to stop overthinking things and bake/cook food I know will taste good – in hopes that my friends and family can try something new and delicious.

Who knows, maybe they will discover a new favorite food?

Indecisive Brownies


4 oz cream cheese, room temperature
3 Tbsp sugar
1 egg white
Boxed brownie mix

Prepare the brownies as instructed on the box (I made my brownies fudgy). Spread into a 13 x 9 pan.
Mix together sugar, cream cheese and egg white until thoroughly combined.

Dollop mixture over half of the pan, and marble with a knife.

Bake following the directions on the box (my brownies baked for approximately 25 minutes)

Let cool completely before cutting.

Friday, October 1, 2010

Grilled Tilapia with Charred Sweet Corn Relish

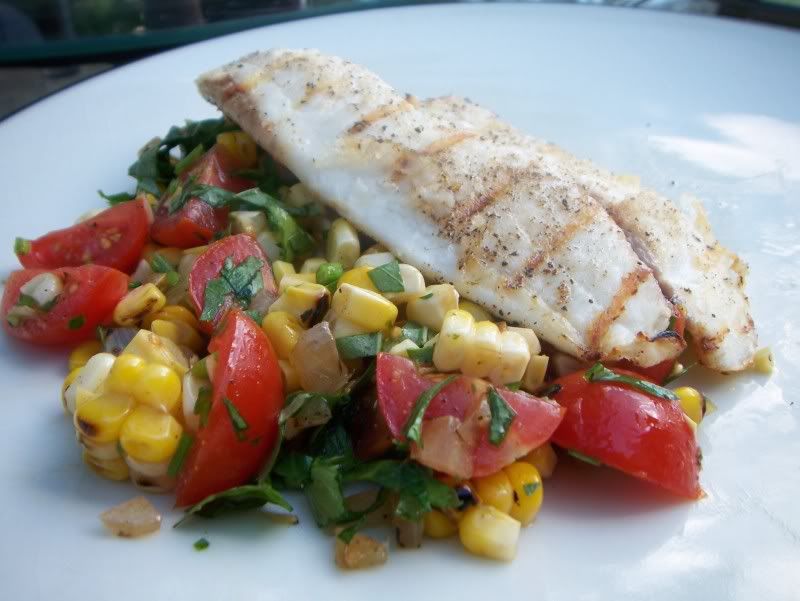
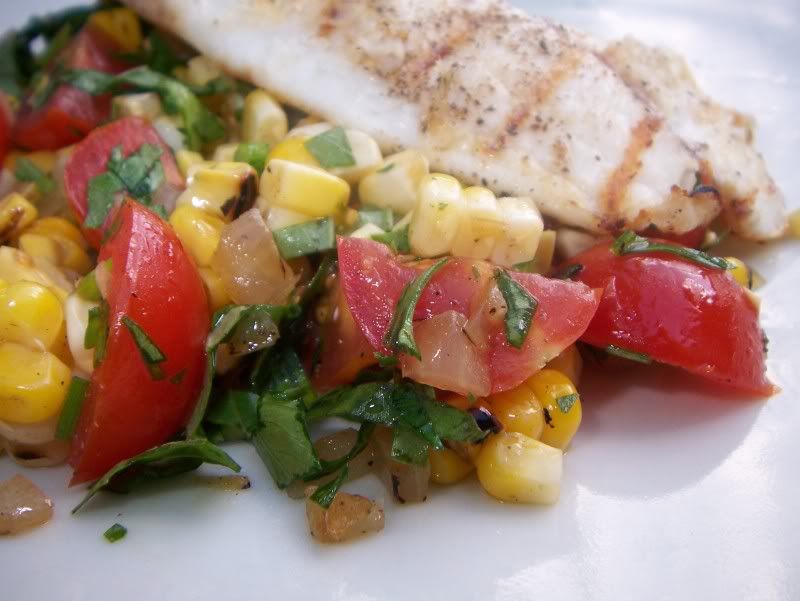
This post is going to be short and sweet because that’s what this recipe is. Simply seasoned, grilled fish served with an herbaceous, but light, corn salad. It’s perfect for those summer nights where you want to enjoy grilling outside but don’t want to be responsible for a half rack of ribs, a dozen wings and a burger. The charred corn gets such a delicious sweetness from the grilling, but be careful! There will be sizzling and popping and some of the kernels most likely will explode – hopefully not in your direction!

The basil is a prominent flavor in the salad, but not overpowering at all. I made two versions, one with the onions and tomato, and one with just the corn and herbs (as the hubby does not enjoy the ‘other stuff’). Both salads were delicious, but I did enjoy the depth that the other veggies gave to mine – the warm corn and onion paired with the cool tomato was great.

Grilled Tilapia with Charred Sweet Corn Relish
Adapted From Chase http://chaseblackwell.com/grilled-tilapia-with-charred-sweet-corn-relish/

Serves 2
1 pound Tilapia, sea bass or favorite white fish
2 cobs of sweet corn
1/4 pint cherry tomatoes, quartered
1/2 sweet onion
1/4 cup fresh basil, cut into chiffonade (you can substitute cilantro for a Mexican-themed twist)
1 tablespoons fresh flat-leaf parsley, chopped
3 chive sprigs, finely chopped
1 tablespoons good white wine vinegar
2 Tbsp virgin olive oil (plus more for grilling corn, onions, and Tilapia)
Kosher salt, to taste
Freshly cracked pepper, to taste

Preheat a grill to a high flame (you can also use a broiler to diminished results)
To begin, shuck the corn and toss the cobs in either butter or olive oil and sprinkle with salt and freshly cracked pepper.
Slice the sweet onion and do the same (toss in olive oil or butter and sprinkle with salt and freshly cracked pepper).
Grill the onions and corn until well-charred. Beware of potentially eye-poking-out flying corn kernels!
Allow the corn and onions to cool. To make removing the kernels less messy, cut the corn cobs in half and carefully remove the kernels from the cobb with a sharp knife. Roughly chop the onions into 1/4″ thick pieces.
In a large bowl, combine the corn, onions, quartered cherry tomatoes, 1/4 cup olive oil, and 2 tablespoons vinegar. Again, the relish can be made at least a few hours before grilling the fish.
***Add in the fresh basil chiffonade, chopped parsley, chives and season to taste with salt and pepper before serving.

Grilling The Fish

Take these few easy precautions to prevent the fish from sticking.

1. Dry the Tilapia with paper towels until no moisture remains on the towel.
2. Toss the fish in a high-heat, refined oil such as canola, peanut, or extra-light olive oil.
3. Thoroughly clean and oil the grill grates.
4. Season with salt and pepper just before grilling to prevent the salt from drawing moisture out of the fish.
5. Let the fish cook, flipping only once. This will allow the protein structure on the outside of the fish to fully form and remove from the grill, thereby allowing it to not stick to the grate, like we want.
Otherwise, pay careful attention, get used to touching the fish as it grills, looking for a slightly springy texture, and go with your gut instinct. If you think it’s done then it probably is. And if not, now you know what not-done-fish feels like. Grilling is as much an art as it is a science– and there’s no room for thermometers when grilling fish!
Plate and serve hot with the relish and your favorite glass of white wine.


Related Posts Plugin for WordPress, Blogger...