
 I’ve posted a char siu bao (Chinese BBQ pork bun) recipe on here previously, but I was less-than-ecstatic with the results when I opened the steamer. It appeared that my dough didn’t rise, which should have been a clue to start over, but I soldiered on. The end result was more of a dumpling than a bun and while it was salvaged because the filling was so delicious, it fell painfully short of what I had hoped they would be.
After watching an episode of Top Chef where they had to make dim sum for the lunch rush in Chinatown, I had a strong desire to try my hand at the bao buns again.
Armed with a new recipe (and live yeast!) I started making the sponge for my bao. This had to sit for 30 minutes before incorporating the other ingredients, which also gave me the chance to see proof that my yeast was alive. All excited, I misread the recipe and put a cup, yes a CUP of vegetable oil into the sponge – the recipe only calls for a tablespoon. I am not sure how I misread that, even after double-checking, but when I had an oily mess on my hands, I knew something was wrong. After reading the recipe, I sheepishly had to tell my hubby that we might be eating a little later than anticipated, since I had to start from scratch. Oh well, it happens.
Second time around, I started my sponge, measured out one tablespoon of melted lard this time (in keeping with the recipe) and had a beautiful dough. I ended up needing less than a half cup of water to bring the dough together, so add slowly. As the recipe says, don’t overhydrate your dough.
The interesting part of this recipe was that a teaspoon of baking powder is kneaded directly into the dough after its first rise. This was definitely not in the first recipe I attempted. I took that to be a good sign.
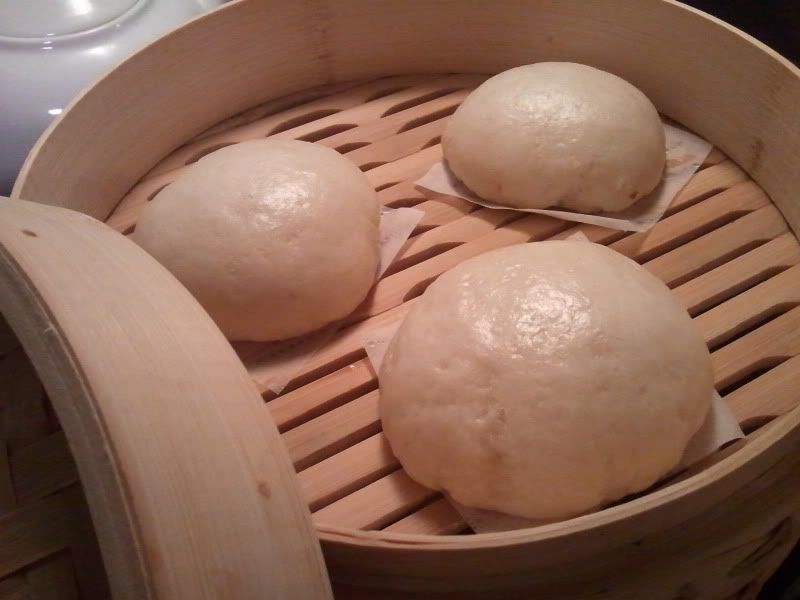
After filling the buns and letting them sit for another 15 minutes or so, I got the steamer ready.
I put three buns on the top steamer basket, leaving the bottom one empty (as suggested by the original poster of the recipe). 11 minutes later, I took the lid off of my steamer basket and squealed with delight that I had made bao!
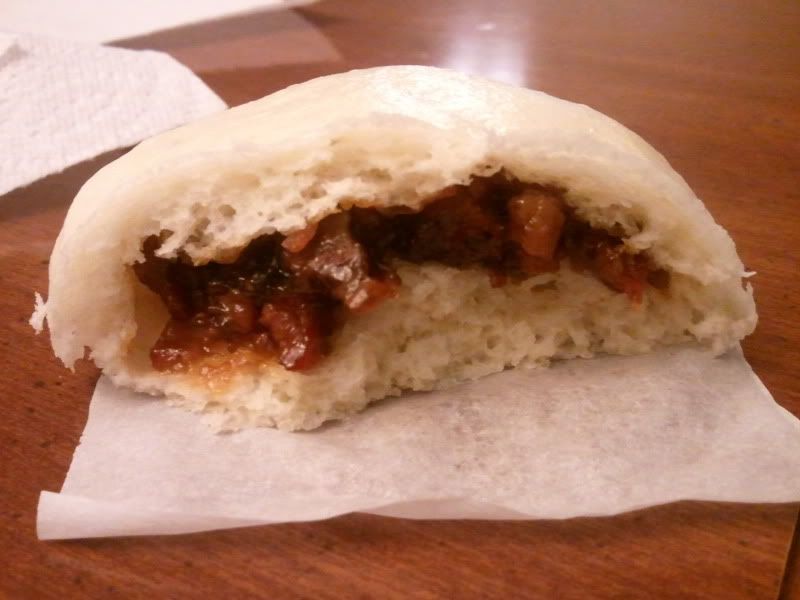
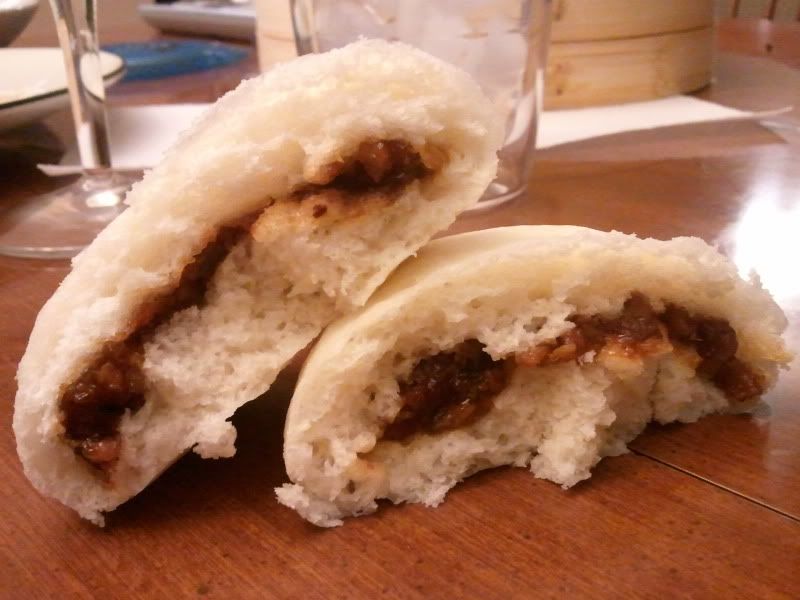
The buns were fantastic, and the dough was soft and airy, but still substantial. Oh man, I am so excited to make these again.
I used a specific bao flour I found in Chinatown, but I am not sure I’ll need to purchase it every time I make bao – the original recipe suggested using a combination of AP flour and cake flour (since cake flour has a lower protein content). I will probably make them using that combination when I run out of my bao flour.
Now that I have finally found a dough recipe that works, I can’t wait to experiment with fillings! Any suggestions?
(Makes 12 buns)
Published on and copyrighted by
(My comments are in italics and these are mostly paraphrasing tips and suggestions on the Shesimmers website.)
Sponge Starter:
1/3 cup lukewarm water
1/3 cup all-purpose flour
1 tablespoon active dry yeast
2 teaspoon sugar
Dough:
1 1/2 cups all-purpose flour (for lighter texture use 3/4 cup all-purpose flour plus 3/4 cup cake flour)
2 teaspoons baking powder, divided
1/2 teaspoon salt
2 1/2 tablespoons sugar
1 tablespoon of vegetable oil (or melted lard or vegetable shortening)
Enough lukewarm water to create a smooth dough, approximately 1/2 cup
Filling - see original post for filling recipe.
You'll also need:
A steamer - Note: Shesimmers mentioned a preference for the metal steamers, I used my bamboo one just fine, but I only used the top rack and steamed three buns at a time
12 3"x3" waxed paper square
In a large mixing bowl, mix together all the sponge ingredients and let it stand about 30 minutes (up to 2 hours)
Once the sponge is ready (it should puff up and have holes on the surface), add the flour, 1 teaspoon of baking powder, salt, sugar, and oil to the sponge bowl.
While your dominant hand is stirring the dough, add lukewarm water to the mixture a little bit at a time with your non-dominant hand. (Do I have to be this specific about the hand thing?) The moment you feel you can get a smooth dough that wipes the bowl almost clean, stop adding water.
Knead the dough right in the bowl, if you don't want to clean your kitchen counter afterwards. But if you need room to groove, feel free to dump the dough onto a large surface and let go of all your kneading inhibitions.
Once you have a smooth, satiny dough (after about 3-4 minutes), put the dough back into the mixing bowl, if you took it out, and cover tightly with a piece of plastic wrap. Let it rise for 3 hours in a warm spot.
You have three hours to get ready, so prepare your steamer and make the waxed paper squares.
After three hours, sprinkle the remaining 1 teaspoon of baking powder all over the surface of the dough and knead it in, lightly but well.
Roll the dough into a long log and cut into 12 equal pieces. If you are steaming plain buns, shape each piece into a ball by pinching and stretching. Place each dough ball, seams-side down, on a piece of waxed paper.
If you plan on filling the buns, after dividing the dough, flatten each piece into a circle approximately 4 inches in diameter. Add about two tablespoons of filling, pinch circle closed around filling. Place each filled ball seam side down on waxed paper.
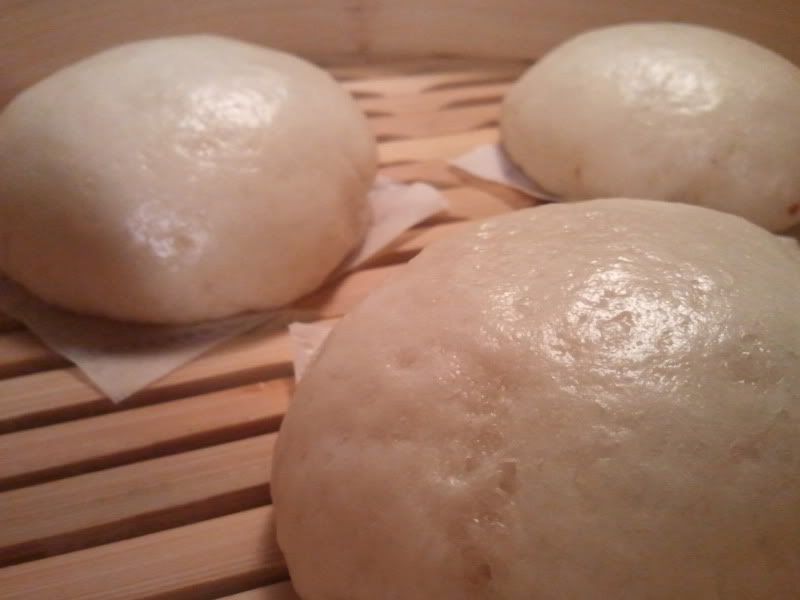
Cover the buns with a kitchen towel and let them rise once more for 30 minutes to an hour. You know the buns are ready when they have puffed up and the tops look smooth and taut.
Gently lower the buns into the steamer using the corners of the wax/parchment paper squares, positioning them in such a way that allows for expansion. They should not touch each other or the sides of the steamer.
Steam the buns for 10 minutes. Remove the buns from the steamer and let them cool under a kitchen towel.
No comments:
Post a Comment