
 Ever since I was a little girl, I have loved camping. I would always look forward to our Memorial Day and July 4th trips to our cabin in central Pennsylvania. I learned how to build shelters, dip spring water, ride a dirt bike, shoot skeet and build fires with matches, flint and steel and even a bow and spindle. Few vacations let me unwind and relax as much as camping. I could take off my watch and do whatever I felt. I’d go to sleep when I was tired, eat when I was hungry, and wake up when I wanted. After dark, I’d lie out on the lawn and stare up at the nighttime sky locating constellations, which resulted in seeing my first shooting star ever and the most amazing meteor shower.
Another love of camping was the food. I think anything cooked over the fire just tastes better. I’ve been lucky enough to have family that loves cooking in campfires, using dutch ovens, cast iron skillets and rotisseries. Camp food is not only limited to hot dogs and buns. I’ve had pot roast, pizza pockets, baked potatoes, roasted veggies and cobblers. Even knowing the varieties of foods that are possible, nothing makes me as nostalgic for the campgrounds as marshmallows.
My dad, brother and I would go into the woods with our pocket knives and find young saplings or small green branches that would make perfect marshmallow sticks. We’d collect enough for each person and then bring them back to camp so we could whittle the ends down to make the perfect marshmallow spear. Each person in our family had their own toasting technique. My mom was a perfectionist with hers. I’ve never seen a more picture-perfect marshmallow. She would spend 10 minutes on one, holding it above the flames and turning it so that it browned evenly on all sides. It took her so long to perfect her marshmallow that it was always so sad if it ever slipped off the end of her spear into the fire or if it somehow managed to burst into flames. Thankfully, my brother and I loved the burnt marshmallows so my mother’s rejects never went to waste. Our cooking technique revolved around simply catching them on fire, blowing them out, and eating them.
I never realized that making marshmallows would be just as easy as running out to the store and buying a bag of them. There is minimal effort and cooking and I could even start the mixer and just let it run as I cleared sticks from the backyard before the husband mowed it.
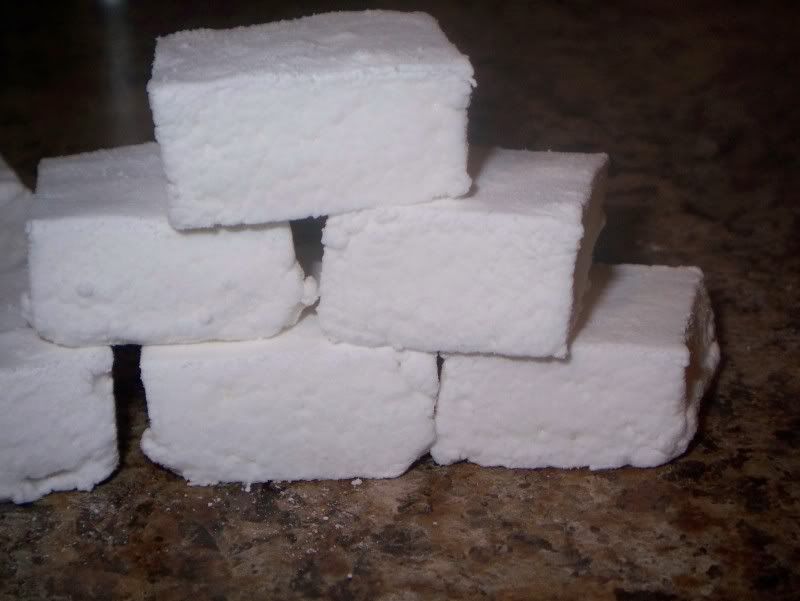
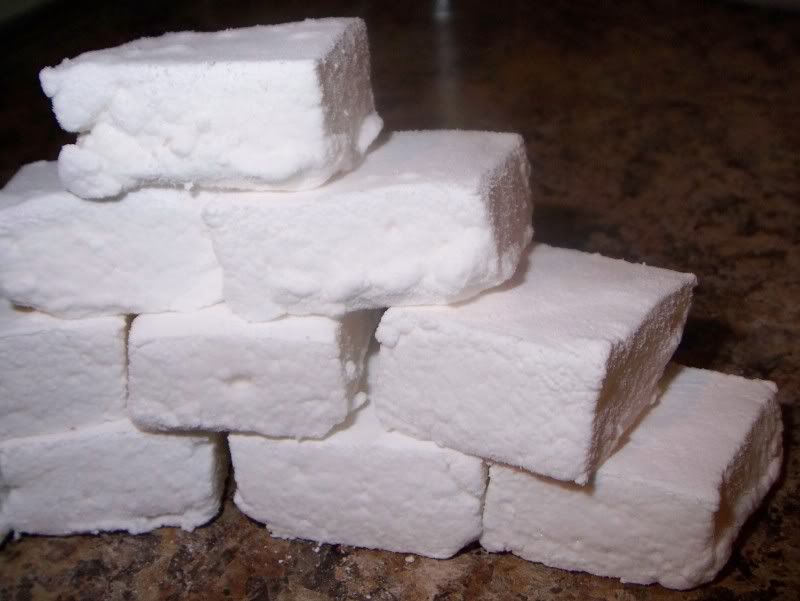
The smell of gelatin reminded me of pure lard, so the fact the recipe began with something that smelled so off-putting worried me. Thankfully, the smell dissipated and all I was left with were beautiful, pillowy vanilla marshmallows. Though I put them in a pan to cool and cut into squares, you could, if you were so determined, put the fluffy mass into a piping bag and make your own piped shapes. Peeps anyone?
I cannot wait to now try some variations on these - green coloring and mint extract, red coloring and strawberry extract, cocoa powder, you are only limited to your imagination. Or, add some orange food coloring and banana flavor and you have one of my childhood favorites – circus peanuts! As good as that sounds, these marshmallows were in for a different fate, which I will be blogging about later.
To be continued…
Vanilla Marshmallows
Adapted from Martha Stewart Weddings
Makes about 16 cubes
1 packet unflavored gelatin
1/3 cup water; 1/4 cup water (divided)
1/2 cup granulated sugar
1/2 teaspoon vanilla bean paste or extract (the paste makes lovely little flecks in the mallows)
1/2 cup confectioner's sugar, sifted for dusting
Combine gelatin and 1/3 cup of water in the bowl of a stand mixer and let stand for about 5 minutes, until softened. Line a 8x8" baking pan with wax paper, then spray with cooking spray.
In a small saucepan, combine the remaining 1/4 cup of water and the granulated sugar. Bring to a boil over medium-high heat, stirring until the sugar dissolves. Boil for 2 minutes.
Remove saucepan from heat. Using the whisk attachment, turn mixer on to low speed and slowly begin adding the sugar water to the gelatin mixture. Once all of the sugar water is combined, turn mixer to medium high speed and beat until thick and cool, about 10 minutes. Add vanilla and continue whisking the mixture until it is white and thick and starting to pull away from the sides of the bowl. That took another 10-15 minutes for me.
First starting to mix: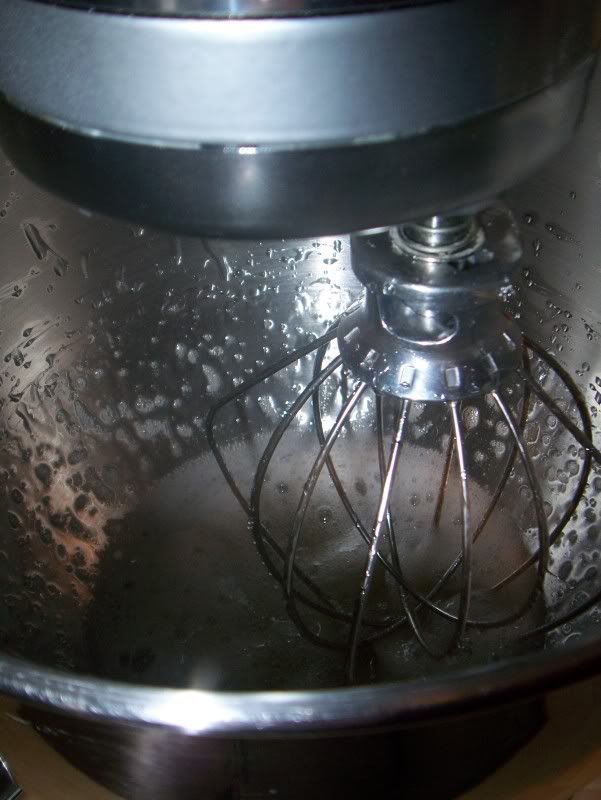 At five minutes:
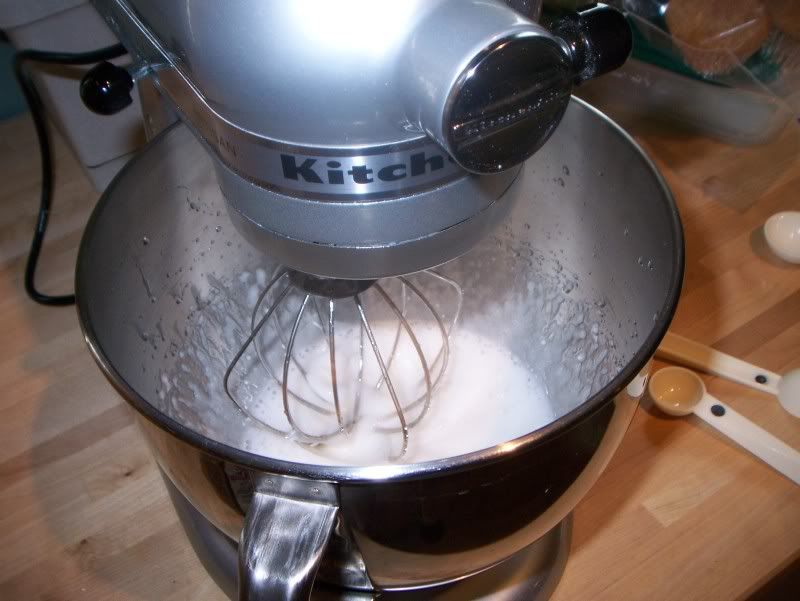 At ten minutes:
Using a rubber spatula sprayed with cooking spray, spread the mixture into the prepared pan and let stand until firm. Mine took about 4 hours before I was comfortable trying to extract it from the pan, but it may take more or less time depending on humidity and other factors - just be patient; if it doesn't seem ready, wait a little longer.
When the marshmallow is firm, spread a piece of wax paper over your work surface. Sprinkle confectioner's sugar liberally over the top of the marshmallow then turn out onto the wax paper. I had to use a knife to make sure the sides unstuck from my pan before I could get the marshmallows out. Try that if they are still sticking to much to your pan. Peel the top layer of wax paper from the marshmallow and sprinkle top with additional confectioner's sugar.
Place remaining confectioner's sugar in a large bowl. Using a knife sprayed with cooking spray, slice marshmallow into evenly sized cubes and toss them with the confectioner's sugar to coat evenly. Place in an airtight container to store.
Adapted from Martha Stewart Weddings
Makes about 16 cubes
1 packet unflavored gelatin
1/3 cup water; 1/4 cup water (divided)
1/2 cup granulated sugar
1/2 teaspoon vanilla bean paste or extract (the paste makes lovely little flecks in the mallows)
1/2 cup confectioner's sugar, sifted for dusting
Combine gelatin and 1/3 cup of water in the bowl of a stand mixer and let stand for about 5 minutes, until softened. Line a 8x8" baking pan with wax paper, then spray with cooking spray.
In a small saucepan, combine the remaining 1/4 cup of water and the granulated sugar. Bring to a boil over medium-high heat, stirring until the sugar dissolves. Boil for 2 minutes.
Remove saucepan from heat. Using the whisk attachment, turn mixer on to low speed and slowly begin adding the sugar water to the gelatin mixture. Once all of the sugar water is combined, turn mixer to medium high speed and beat until thick and cool, about 10 minutes. Add vanilla and continue whisking the mixture until it is white and thick and starting to pull away from the sides of the bowl. That took another 10-15 minutes for me.
At five minutes:At ten minutes:Using a rubber spatula sprayed with cooking spray, spread the mixture into the prepared pan and let stand until firm. Mine took about 4 hours before I was comfortable trying to extract it from the pan, but it may take more or less time depending on humidity and other factors - just be patient; if it doesn't seem ready, wait a little longer.
When the marshmallow is firm, spread a piece of wax paper over your work surface. Sprinkle confectioner's sugar liberally over the top of the marshmallow then turn out onto the wax paper. I had to use a knife to make sure the sides unstuck from my pan before I could get the marshmallows out. Try that if they are still sticking to much to your pan. Peel the top layer of wax paper from the marshmallow and sprinkle top with additional confectioner's sugar.
Place remaining confectioner's sugar in a large bowl. Using a knife sprayed with cooking spray, slice marshmallow into evenly sized cubes and toss them with the confectioner's sugar to coat evenly. Place in an airtight container to store.
No comments:
Post a Comment